8 Ways to Take a Screenshot

We regularly ask our customers to take a screenshot of the page, website or error so we know exactly what they mean or what they are encountering.
Screenshots can be taken in many different ways, on all devices and operating systems. Each device and operating system works differently to take a screenshot. Below we tell you 8 ways to take a screenshot.
1. Windows 10 + 11 is the simplest
On a Windows 10 or 11 computer, it's the simplest to take a screenshot. This is rather speculative, because it is indeed easy to find the “PrtSc” or “PrtScn” button, but then you haven't saved the screenshot or pasted it where you want the screenshot to go. After pressing the “PrtSc” or “PrtScn” button, you still need to open a photo editing program (such as paint or Photoshop) to be able to save it as a photo.
You can also directly paste the screenshot into an email, Word document, or another program by right-clicking where it needs to go and choosing “Paste” or even easier “CTRL” + “V”.
![]()
2. More screenshot options Windows 10 + 11
In addition to first copying the screenshot to your clipboard and then pasting it, there are other possibilities in Windows 10 + 11 to take a screenshot and, for example, save it directly.
ALT + PrtSc
Hold “Alt” and press the “PrtSc” or “PrtScn” button on your keyboard to take a screenshot of only your currently selected window.
Windows key + PrtSc
You can also hold the “Windows logo” key and press the “PrtSc” or “PrtScn” key at the same time to save the screenshot directly as a photo on your computer. You can then find the photo in the “Pictures” folder on your computer in a separate folder named “Screenshots”.
Windows key + Shift + S
Another possibility is to take a screenshot of a part of your screen. This is done by holding the “Windows logo” key and at the same time pressing “Shift” and “PrtSc” or “PrtScn”. The screen then dims and shows a different mouse cursor. You can now drag a section on the screen yourself. (Note this only works from the “Windows 10 Creators update” and Windows 11). After this, you can paste the screenshot into Microsoft Word, email programs, or a photo editing program like Paint or Photoshop.
3. Taking a screenshot in Mac OS X
Taking a screenshot in Mac OS X can only be done via shortcuts and does not have a separate “PrtSc” or “PrtScn” like a Windows computer.
To take a full screenshot, press the “Command”, “Shift”, and “3” keys at the same time. After this, the screenshot is automatically saved on your desktop.
You can also make a copy to your clipboard in Mac OS X so you can immediately paste the screenshot into your Word, Photoshop, or email program. This is done by pressing the same combination of keys including the “Control” key. The complete combination then becomes “Command” + “Shift” + “Control” + “3”.
4. Custom screenshot options Mac OS X
In addition to making a full screenshot, you can also make partial screenshots or even take a screenshot of a specific application.
Partial screenshot (Command + Shift + 4) and (Command + Shift + Control + 4)
When you press the “Command”, “Shift”, and “4” keys, you can take a partial screenshot where the cursor is adjusted and you can drag a part of your screen. After this, the screenshot is automatically saved on your desktop.
When you add “Control” to this key combination, it is saved to your clipboard and you can paste it into the program of your choice. The key combination then becomes “Command” + “Shift” + “Control” + “4”.
Taking a screenshot of a specific application (Command + Shift + 4) and (Command + Shift + Control + 4) followed by the space bar
Do exactly the same as you do with the partial screenshot, but instead of dragging a window, press the space bar. The cursor then changes to a camera and you can move your mouse over the application to take a screenshot of the entire window.
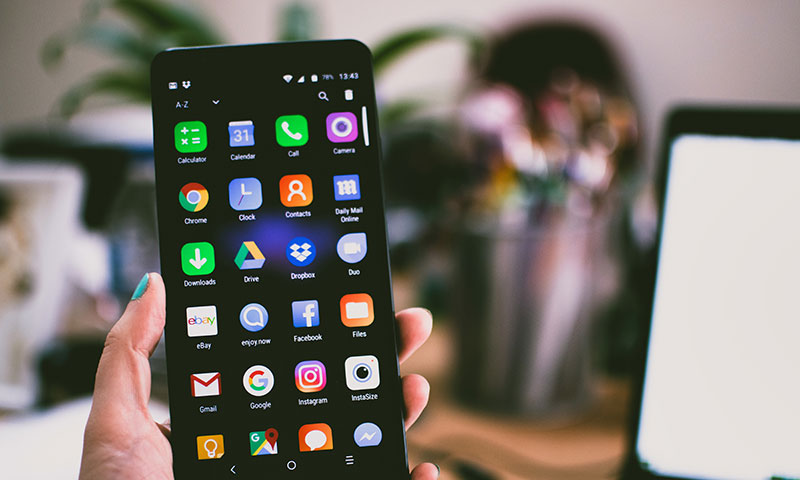
5. Taking a screenshot on an Android phone/tablet
There are many different Android phones and also many different ways to take a screenshot on an Android phone. The fastest way to take a screenshot is by pressing the “Power” and “Volume Down” buttons at the same time.
After this, a screenshot is immediately taken of your current screen and it is saved on your phone, and you often also get a notification of this.
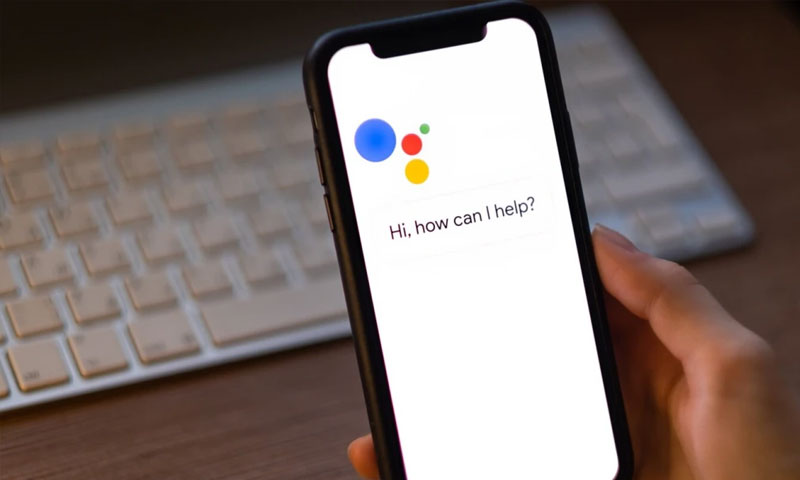
6. Alternative ways to take a screenshot on Android phones/tablets
As mentioned earlier, you can take a screenshot of your current screen in multiple ways and the easiest way is by asking your Google Assistant to take a screenshot (of course, you need to have activated your Google Assistant first).
It is also possible to take a screenshot via the power-off menu. When you get the option to turn off or restart your phone, there is also the option to take a screenshot.
The last added way to take a screenshot is by drawing gestures on the screen. This is different for each Android brand and also set up differently. For example, you can take a screenshot with your OnePlus phone.
7. Take a screenshot on an iPhone/iPad
Taking a screenshot on the iPhone depends on the model and the placement of the buttons on the outside of your iPhone. Does your iPhone have a Face-id button, a Touch-id button, and a side button or a Touch-id button and a button at the top of your iPhone? This determines which actions/button combination you need to press to take a screenshot on the iPhone.
Touch-id button and a side button
If you have a Touch-id button and a side button on your phone, press both simultaneously. When you release the buttons, you have taken a screenshot. iPhone then always still shows a thumbnail preview of the screenshot you have made.
Touch-id and a top button
If you have a button at the top of your iPhone and a Touch-id button, then you need to press both simultaneously to take a screenshot.
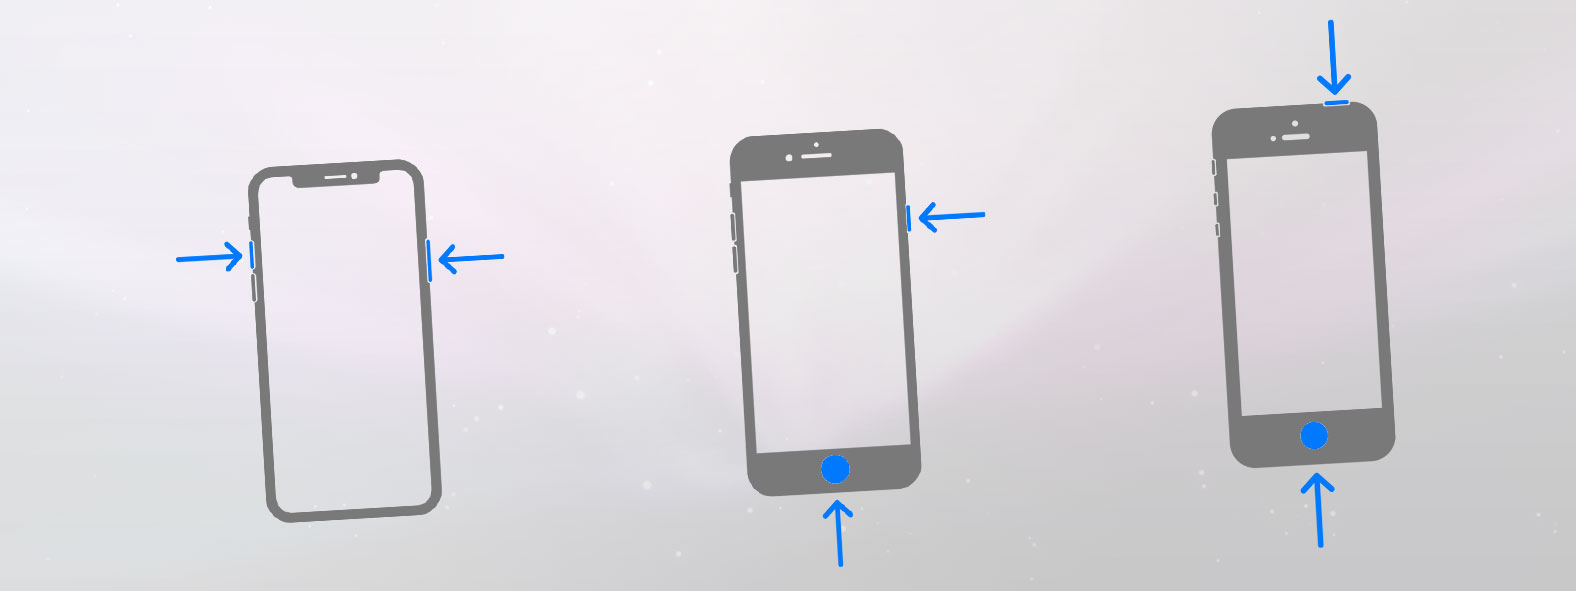
8. Taking a screenshot on the iPhone 13
From this phone onwards, there is no more Touch-id button, but a Face-id button. Due to this change, Apple decided to set a different action to take a screenshot. Even more beautifully, this is roughly the same as on all Android phones. You press the side button and the volume up button at the same time to take a screenshot. Also after this, a thumbnail preview of the screenshot you just took is displayed by default.